
Empower Acceptance Testing
Overview
The purpose of this acceptance plan is to validate the operational readiness and accuracy of the GridX APIs (Empower) as per the agreed-upon specifications. The acceptance testing will focus on ensuring that the APIs deliver accurate data and are ready for production with no unresolved data issues.
Empower APIs
Rate Analysis
getSummary
compareResult
compareCalculate
Bill Analysis and Forecast
iCost
billForecast
billCompare
Customer Management
Usage
customerProfile
Definition of Success
The objective of this testing is to confirm that the GridX APIs are 100% operational and meet the following criteria:
The APIs return accurate and expected results in line with the agreed specifications.
All data extracted and analyzed by the APIs match pre-defined standards.
The system is production-ready with no unresolved or critical data discrepancies.
Testing Objectives
API Readiness: Ensure that the GridX Empower APIs (e.g getSummary, compareResult, iCost…) are fully operational and can handle requests as designed.
Consult your business advisor regarding your in scope APIs.
Data Accuracy: Verify that the data returned by the APIs matches the expected values, including pre-calculated costs, scenario details, and line items for both the base and target scenarios.
Compliance with Specifications: Confirm that the API responses align with the technical requirements, including field names, response structures, and data mappings.
https://empower.gridx.com/#intro documentation, includes example requests and responses
Error Handling: Check that the APIs handle invalid requests and edge cases appropriately without system failures.
Performance: Evaluate that the APIs respond within acceptable time limits, even with large data sets.
Consult your business advisor regarding your API SLAs.
Production Readiness: Confirm that there are no critical unresolved data or system issues, making the APIs ready for deployment in production environments.
Acceptance Testing Steps
Setup and Preparation
Ensure Postman is installed for API testing (see Appendix B for installation steps).
Verify that all necessary security and authentication protocols are in place for API access (see Appendix B for security and authentication guidelines).
Gather the test contract Id list and the corresponding acceptance test data.
Prepare a testing spreadsheet, includes the following key columns (see Appendix C for steps in creating a testing list).
Execution of Test Cases
Test Case 1: Validate getSummary API
With a desired list of test accounts navigate to the “getSummary API”.
insert desired [contractId] within the API curl call in Postman
Compare the API response payload with the pre-calculated costs and ensure they match the expected results for each scenario.
Test Case 2: Validate compareResult API
Open the "compareResult API Responses" tab in the spreadsheet.
insert desired [contractId] wit in the API curl call in Postman.
Verify that the API response correctly return the test data, can also be compared against a spreadsheet.
Ensure that all required fields, attributes, line items, and scenario details are present and accurate.
Test Case 3: Validate compareCalculate API
Open the "compareCalculate API Responses" tab in the spreadsheet.
insert desired [contractId] wit in the API curl call in Postman.
Verify that the API response correctly return the test data, can also be compared against a spreadsheet.
Ensure that all required fields, attributes, line items, and scenario details are present and displaying as part of the API payload format.
Test Case 4: Validate iCost API
Open the "iCost API Responses" tab in the spreadsheet.
insert desired [contractId, entitytId] within the API curl call in Postman.
Verify that the API response correctly return the test data, can also be compared against a spreadsheet.
Ensure that all required fields, line items, and scenario details are present and displaying as part of the API payload format.
Test Case 5: Validate billForecast API
Open the "billForecast API Responses" tab in the spreadsheet.
insert desired [contractId] within the API curl call in Postman.
Verify that the API response correctly return the test data, can also be compared against a spreadsheet.
Ensure that all required fields, line items, and scenario details are present and displaying as part of the API payload format.
Test Case 6: Validate billCompare API
Open the "billComapre API Responses" tab in the spreadsheet.
insert desired [contractId, entityId, personId] within the API curl call in Postman.
Verify that the API response correctly return the test data, can also be compared against a spreadsheet.
Ensure that all required fields, line items, and scenario details are present and displaying as part of the API payload format.
Test Case 7: Validate usage API
Open the "usage API" tab in the spreadsheet.
insert desired [meteraccountId] within the API curl call in Postman.
Verify that the API response correctly return the test data, can also be compared against a spreadsheet.
Ensure that all required fields, line items, and scenario details are present and displaying as part of the API payload format.
Test Case 8: Validate customerProfile API
Open the "customerProfile API" tab in the spreadsheet.
insert desired [contractId + meteraccountId] within the API curl call in Postman.
Verify that the API response correctly return the test data, can also be compared against a spreadsheet.
Ensure that all required fields, line items, and scenario details are present and displaying as part of the API payload format.
Test Case 9: Error Handling
Test how the APIs handle invalid requests, missing parameters, or incorrect data, and ensure appropriate error messages are returned.
Obtained the necessary requirements prior to proceeding
Test Case 10: Performance
Test the response time of both APIs using different data calls to confirm they meet performance requirements.
Validation
Review the API responses to ensure all data points aligns with the expected values.
Verify that each billing period's details, costs, and scenario attributes are correctly displayed.
Documentation
Record test results, noting any discrepancies or issues encountered during the testing process.
Document the response times, error handling, and overall performance of the APIs.
Completion Criteria
All test cases have been executed, and no critical issues remain unresolved.
The API results align with the expected data as outlined in the test scenarios.
All performance, error handling, and data accuracy criteria are met.
The APIs are deemed ready for production deployment.
Sign-off
Once all test cases are successfully completed and the APIs have met the criteria outlined above, a final sign-off will be obtained from the business users and relevant stakeholders to proceed with production deployment.
Appendix A: Security and Authentication
By default, GridX offers 3 layers of security for all of our public-facing APIs.
IP Whitelisting
Dual Authentication (Mutual) SSL
API Bearer Token
For both "IP Whitelisting" and "Dual Authentication SSL", it is standard GridX practice to ensure that these security features are handled as part of the project setup. Please open a service desk ticket with any whitelist of Mutal SSL requirements and the GridX team will work to ensure this is configured. Any required Bearer Tokens can also be provided upon inquiry so they can be passed directly in the requests.
Appendix B: Installing Postman
Download and install postman to your desktop
Available for
Windows
Mac
Linux
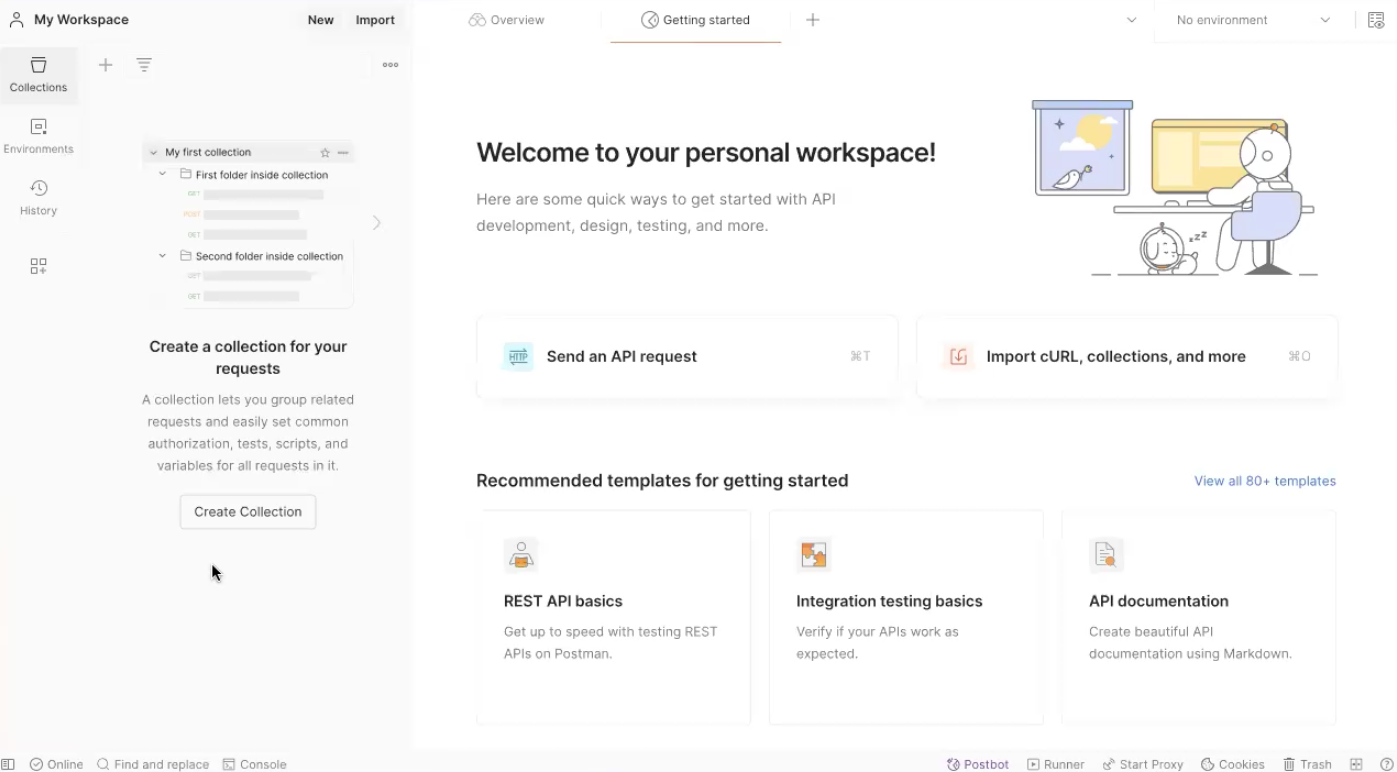
Open the Postman App
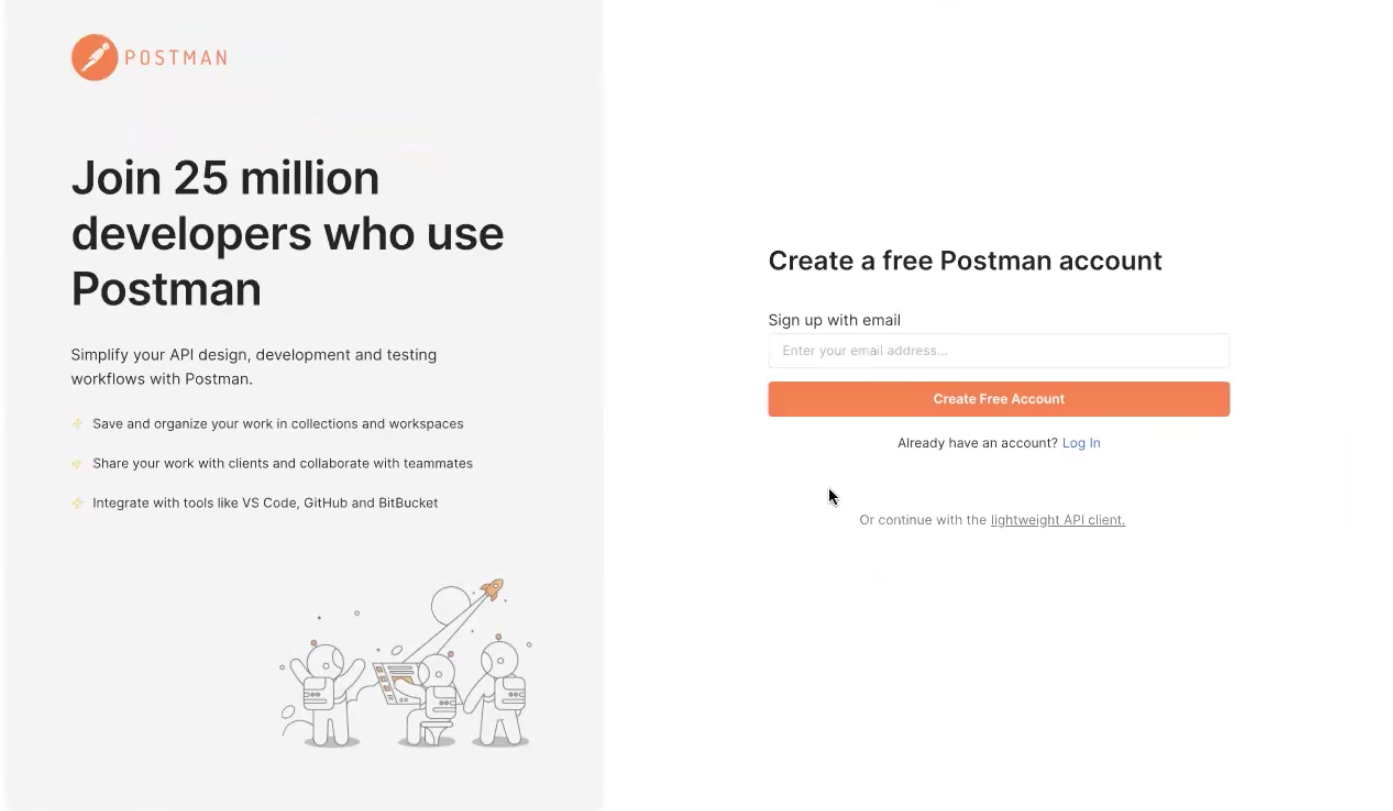
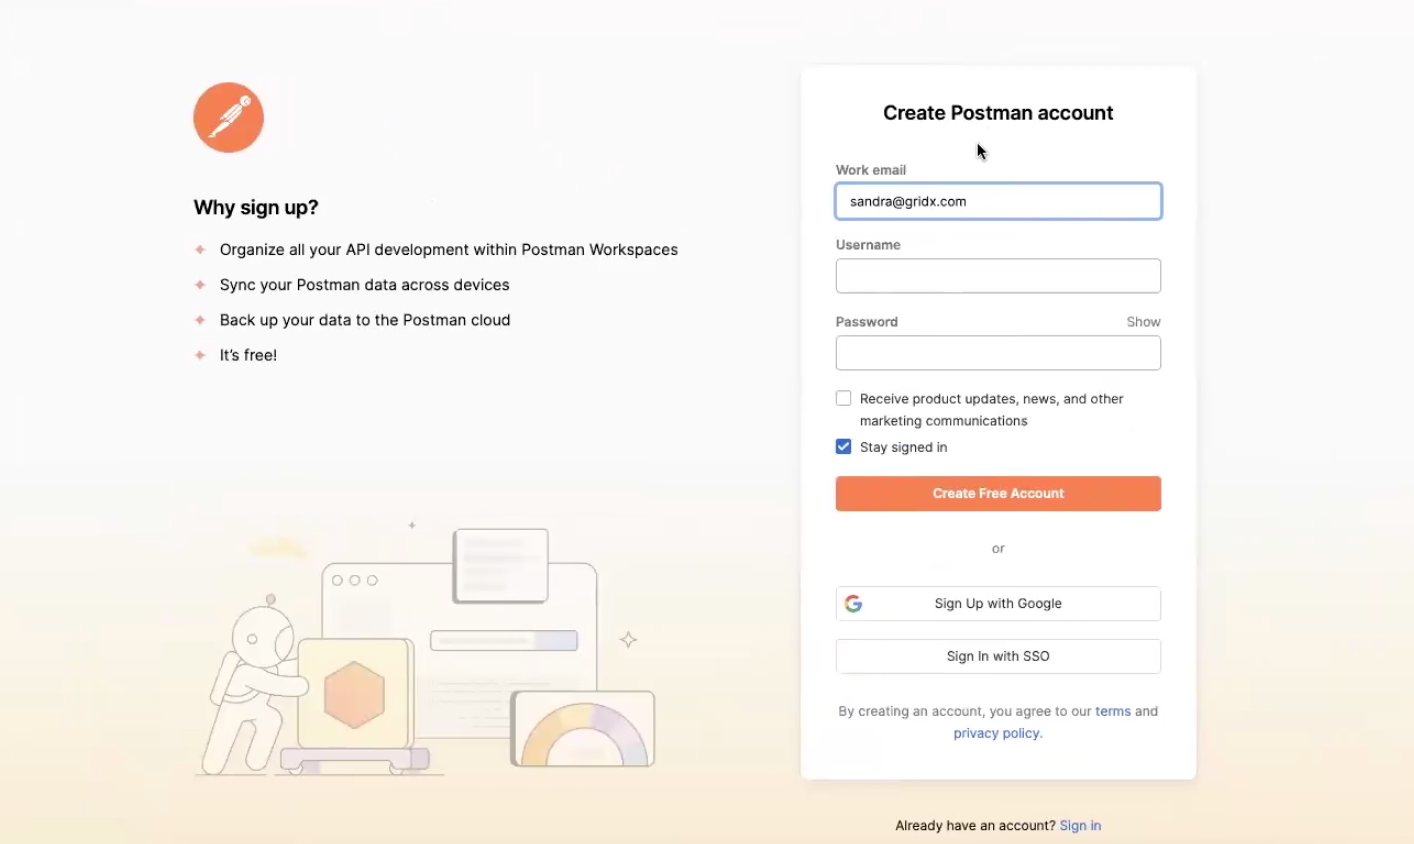
Create a free Postman account or Log in for existing users
Enter an email, username, and password
Use an email associated with the GridX API project.
Selecting create will reroute and open a page in your web browser (shown below):
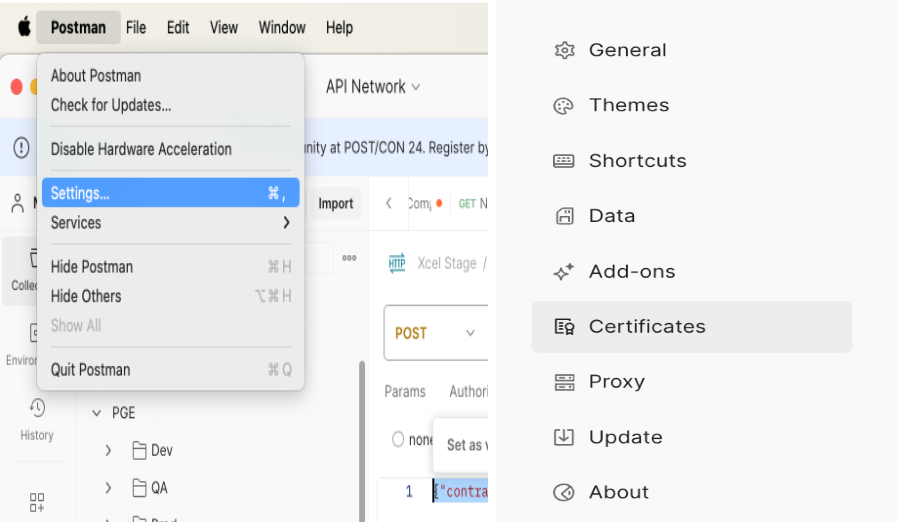
Establish Connection
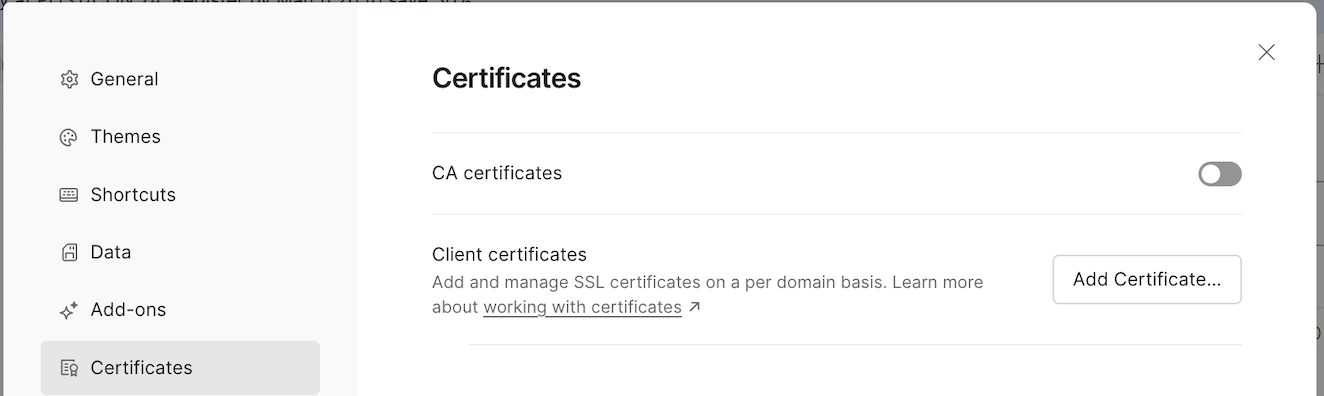
Go to: Postman → Settings
Add the certificate (as shown below) that you received from your IT team. If you do not have this certificate file, please contact your IT team to request it.
The user must obtain the certificate and private key files from the Customer’s IT team before proceeding.
Import Certificate and Private Key
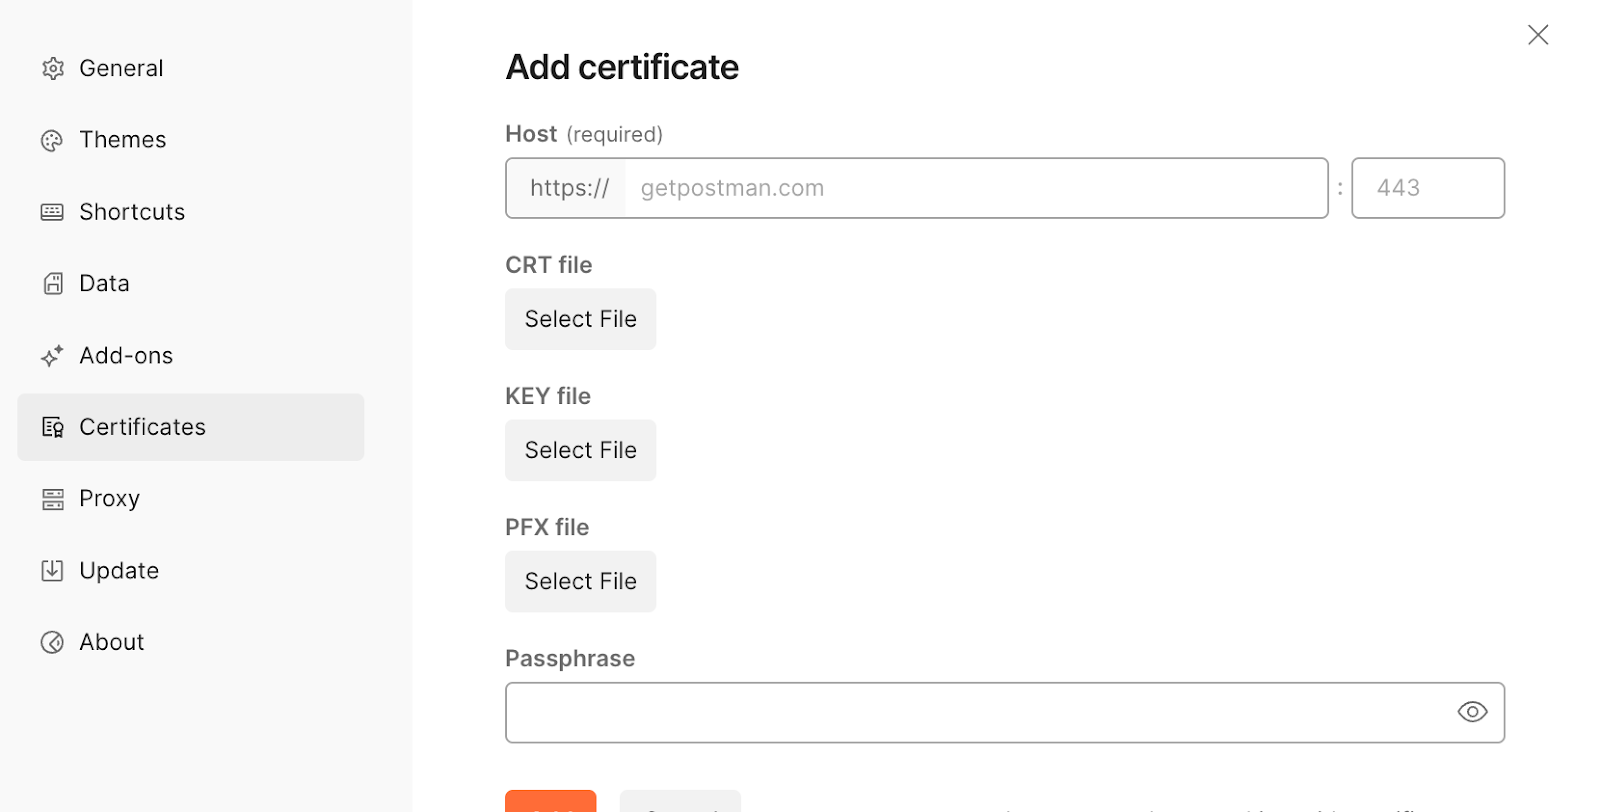
Click on "Add Certificate" (as shown below).
Enter the Host ->
{customer}-api-{env}.gridx.com.Click “Select File” under "CRT file" to upload the certificate obtained from your IT team and click “Add”.
A CRT file is a security certificate file used to establish secure connections between a web server and a browser/API.
The certificate will represent the identity of the client, and GridX will be able to verify that the request is indeed from the client/customer.
A CRT file type is preferred, and our integration methods do not support other file types.
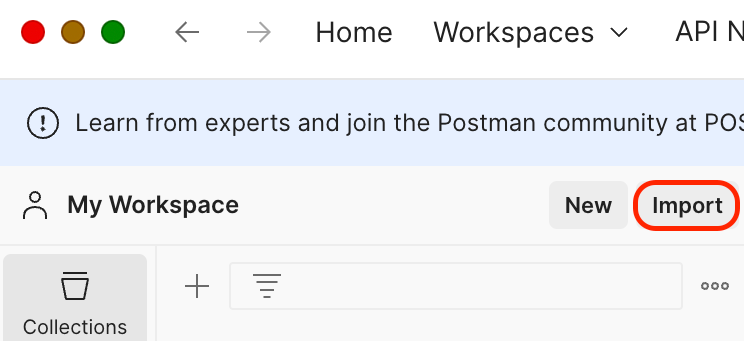
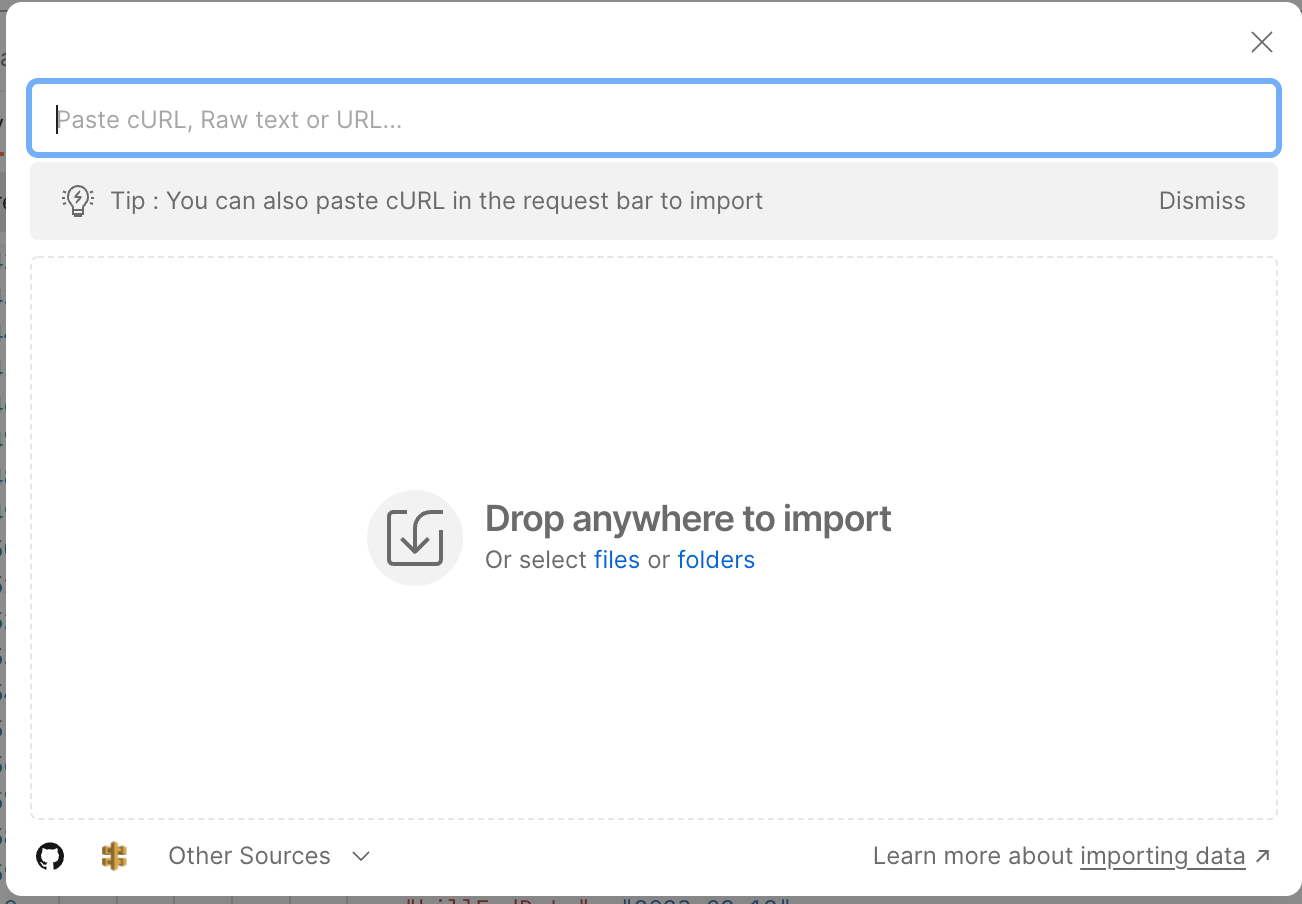
Import Postman Collection
Click on “Import” to upload the collection (.json) file shared with you
Setting up Postman Collection
Select ‘Collections’ to set up a collection from scratch
Create a new collection by selecting the “+” to add a new collection (shown below)
New collection
With collections, you can link related API elements together for easy editing, sharing, testing, and reuse

Add a New Request
Under the new collection → Add request.
Adding a request will automatically create a skeleton request in Postman.
Under the URL bar, paste the following API endpoints:
getSummary API
https://{customer}-api-stage.gridx.com/v2/getSummary{post}Body → raw → format (Json)
Paste into body:
{"contractIds":["{contractId}"]}Replace
{contractId}with the appropriate value.Select → Send.
compareResult API
https://{customer}-api-stage.gridx.com/v2/compareResult/{contractId}{GET}Select → Send.
Final setup: getSummary:
getSummary {post} API sample:
Final setup: compareResult:
compareResult {Get} API sample:
Detailed information on the APIs, sample endpoints and sample responses can be reviewed on GridX’s Empower portal at https://empower.gridx.com/